Configure your Podcast Website on Podhome
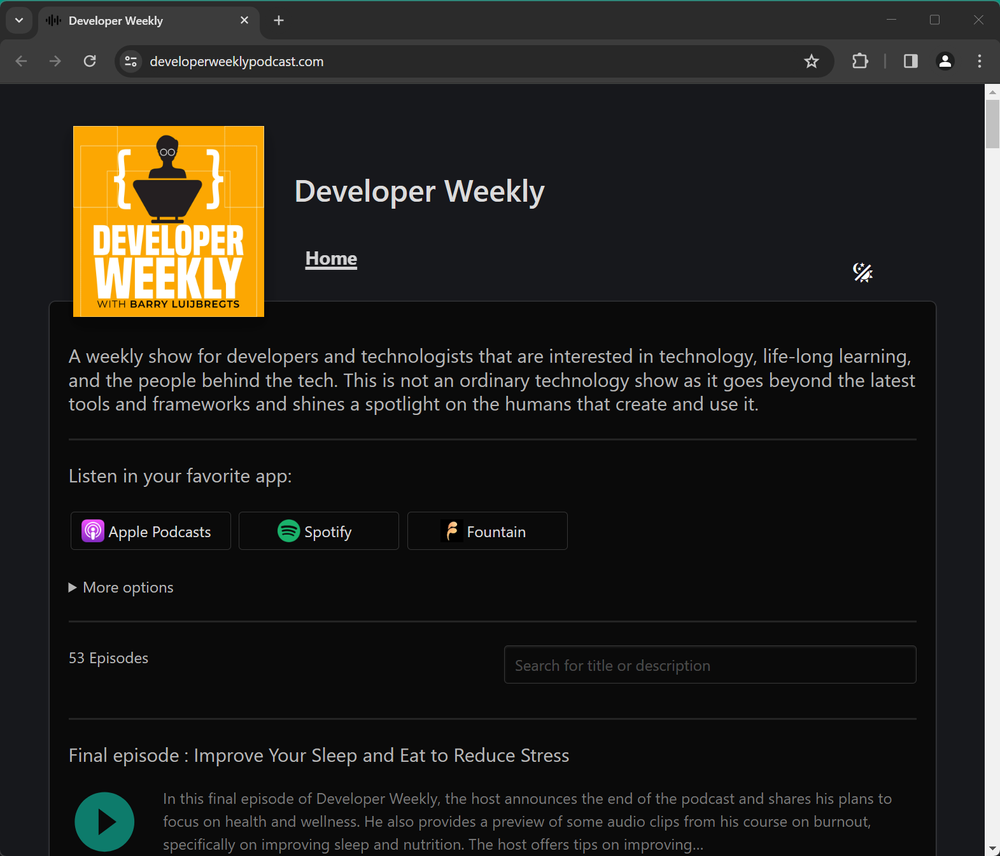
Every podcast can have a website attached to it. You can use your own website, or use the website that we create for you. Your own “Podhome Website“

A Podhome website has the following features:
It’s included in your subscription
One website per show
Episode search
Users can play episodes, and navigate through them with the episode transcript and chapters
Dark mode (user gets to choose between dark / light mode, or system default)
You can use a custom domain
We generate an SSL certificate for you, so that you use https://www.{yourdomain}
Include links to your social media channels
Create custom pages (like an about page)
Mobile friendly. The website adjusts to the device size of the user
Extra feature: When your show is on Apple Podcasts, we show a banner for your show in the Apple Podcasts app on iOS devices.
Set the website Language. This displays all texts on the website in your chosen language
You can currently choose between English, Polish, German and Dutch
Show scheduled episodes. You can turn this on when you want to show your listeners what episodes are coming
You can inject custom code into the <head> element of your website. For instance to use your own analytics tool
Enabling your Podhome Website
When you create a show, we generate a Podhome Website for you. In your show settings, you can choose to enable it, or to use your own website, by entering a URL.

You can also enable your Podhome Website in the Website page.
On your Dashboard is a button that links to either your Podhome Website, or your own website.
Customize your Podhome Website
Although your Podhome Website is generic, you can customize some aspects of it.
Go to the Website page
If you haven’t done so already, enable your Podhome Website (you can always switch it off later)
Go to the Website Appearance tab
You can choose to “Show funding tags“. This is the funding site name and URL that you can configure for your show in Show Settings > Monetization & Value 4 Value. This could for instance be a link to PayPal
Also, you can change the Color for the website main elements, which are the play buttons and controls
Custom Pages
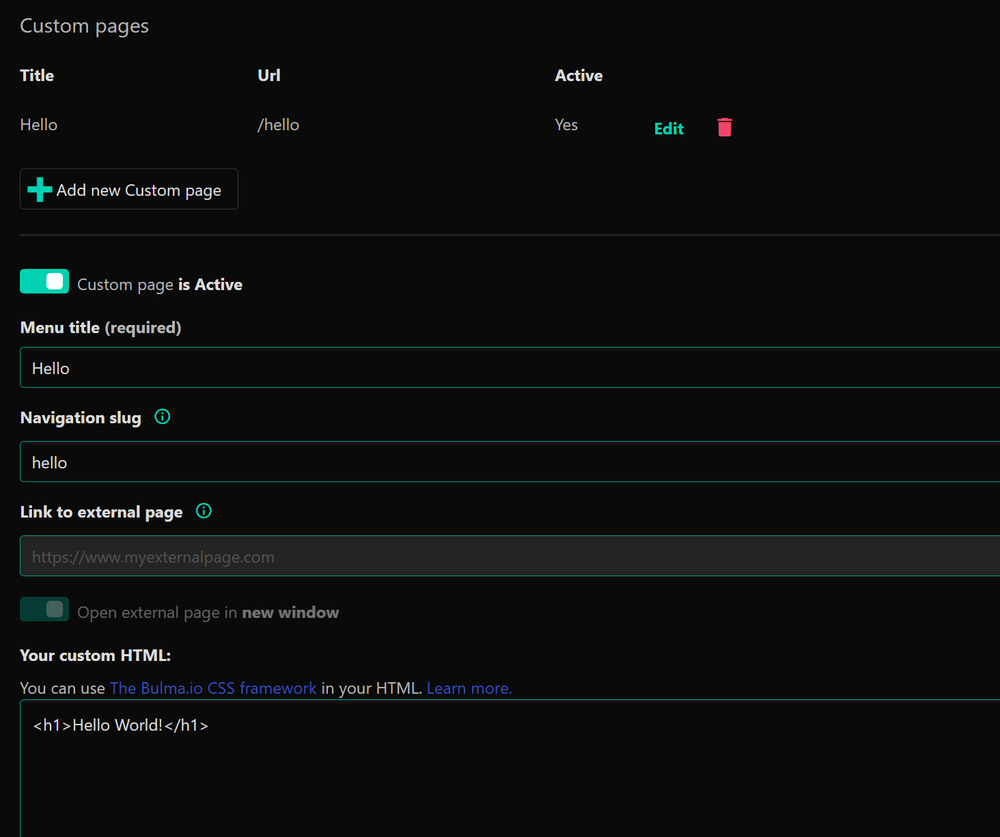
By default, your Podhome Website comes with a home page, and a page per episode. You can add custom pages to your site with custom HTML.
Go to the Website page, and select the Website Appearance tab
Click “Add new Custom page“
Enter a Title (this will show in the website menu)
Now fill in a navigation slug (like about-me), or a link to an external page
When you fill in a link to an external page, you can select if the page opens in a new window
When you’ve entered a navigation slug (which is used in the URL to your custom page), you need to enter HTML for your page. This can be any valid HTML
The Podhome Website uses the Bulma.io CSS framework. So you can use their styles if you want to
Click “Save changes“ to add your custom page
The website preview will update, so you can see what your custom page looks like.

(Custom pages for your Podhome Website)
Use your own Domain name
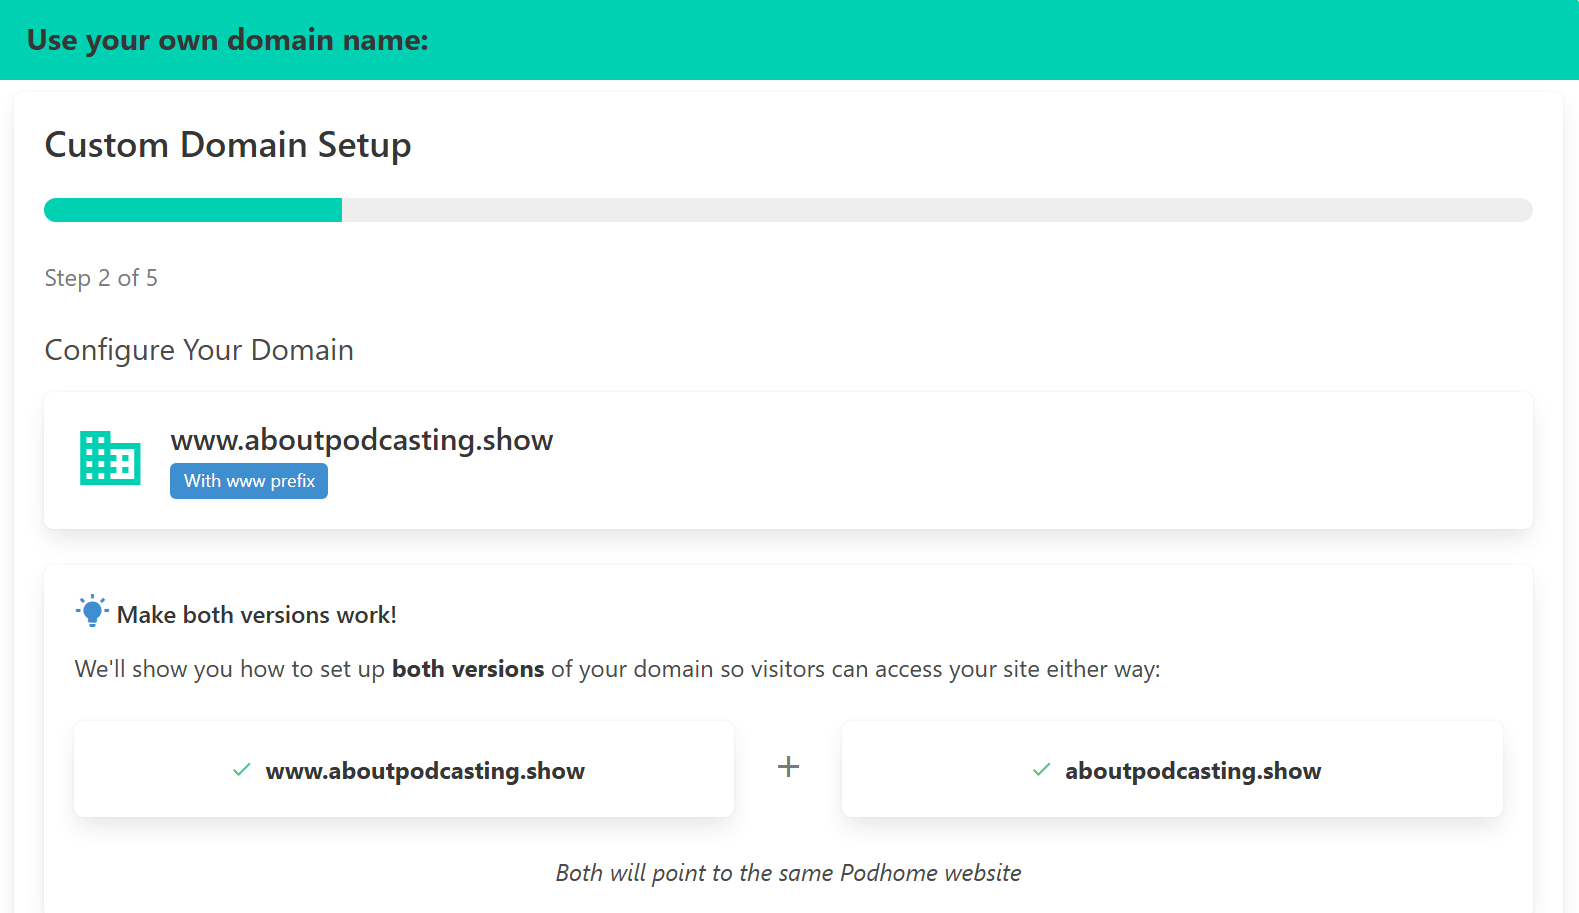
When you use a Podhome Website, it will use a URL that we generate for you (and you can change), like https://serve.podhome.fm/microsoft-azure-for. You can also use your own domain with a Podhome Website.
Go to the Website page
Select the Website Url tab
Select the “Use your own domain name“ area
Follow the instructions in the wizard
The wizard will instruct you to add some DNS records in your domain provider dashboard.

(Podhome Website URL settings)